NExT Cube Restoration
SHARE |
|
 NExT Cube Restoration
 |
by Bill Degnan - 12/19/2017 20:13 |
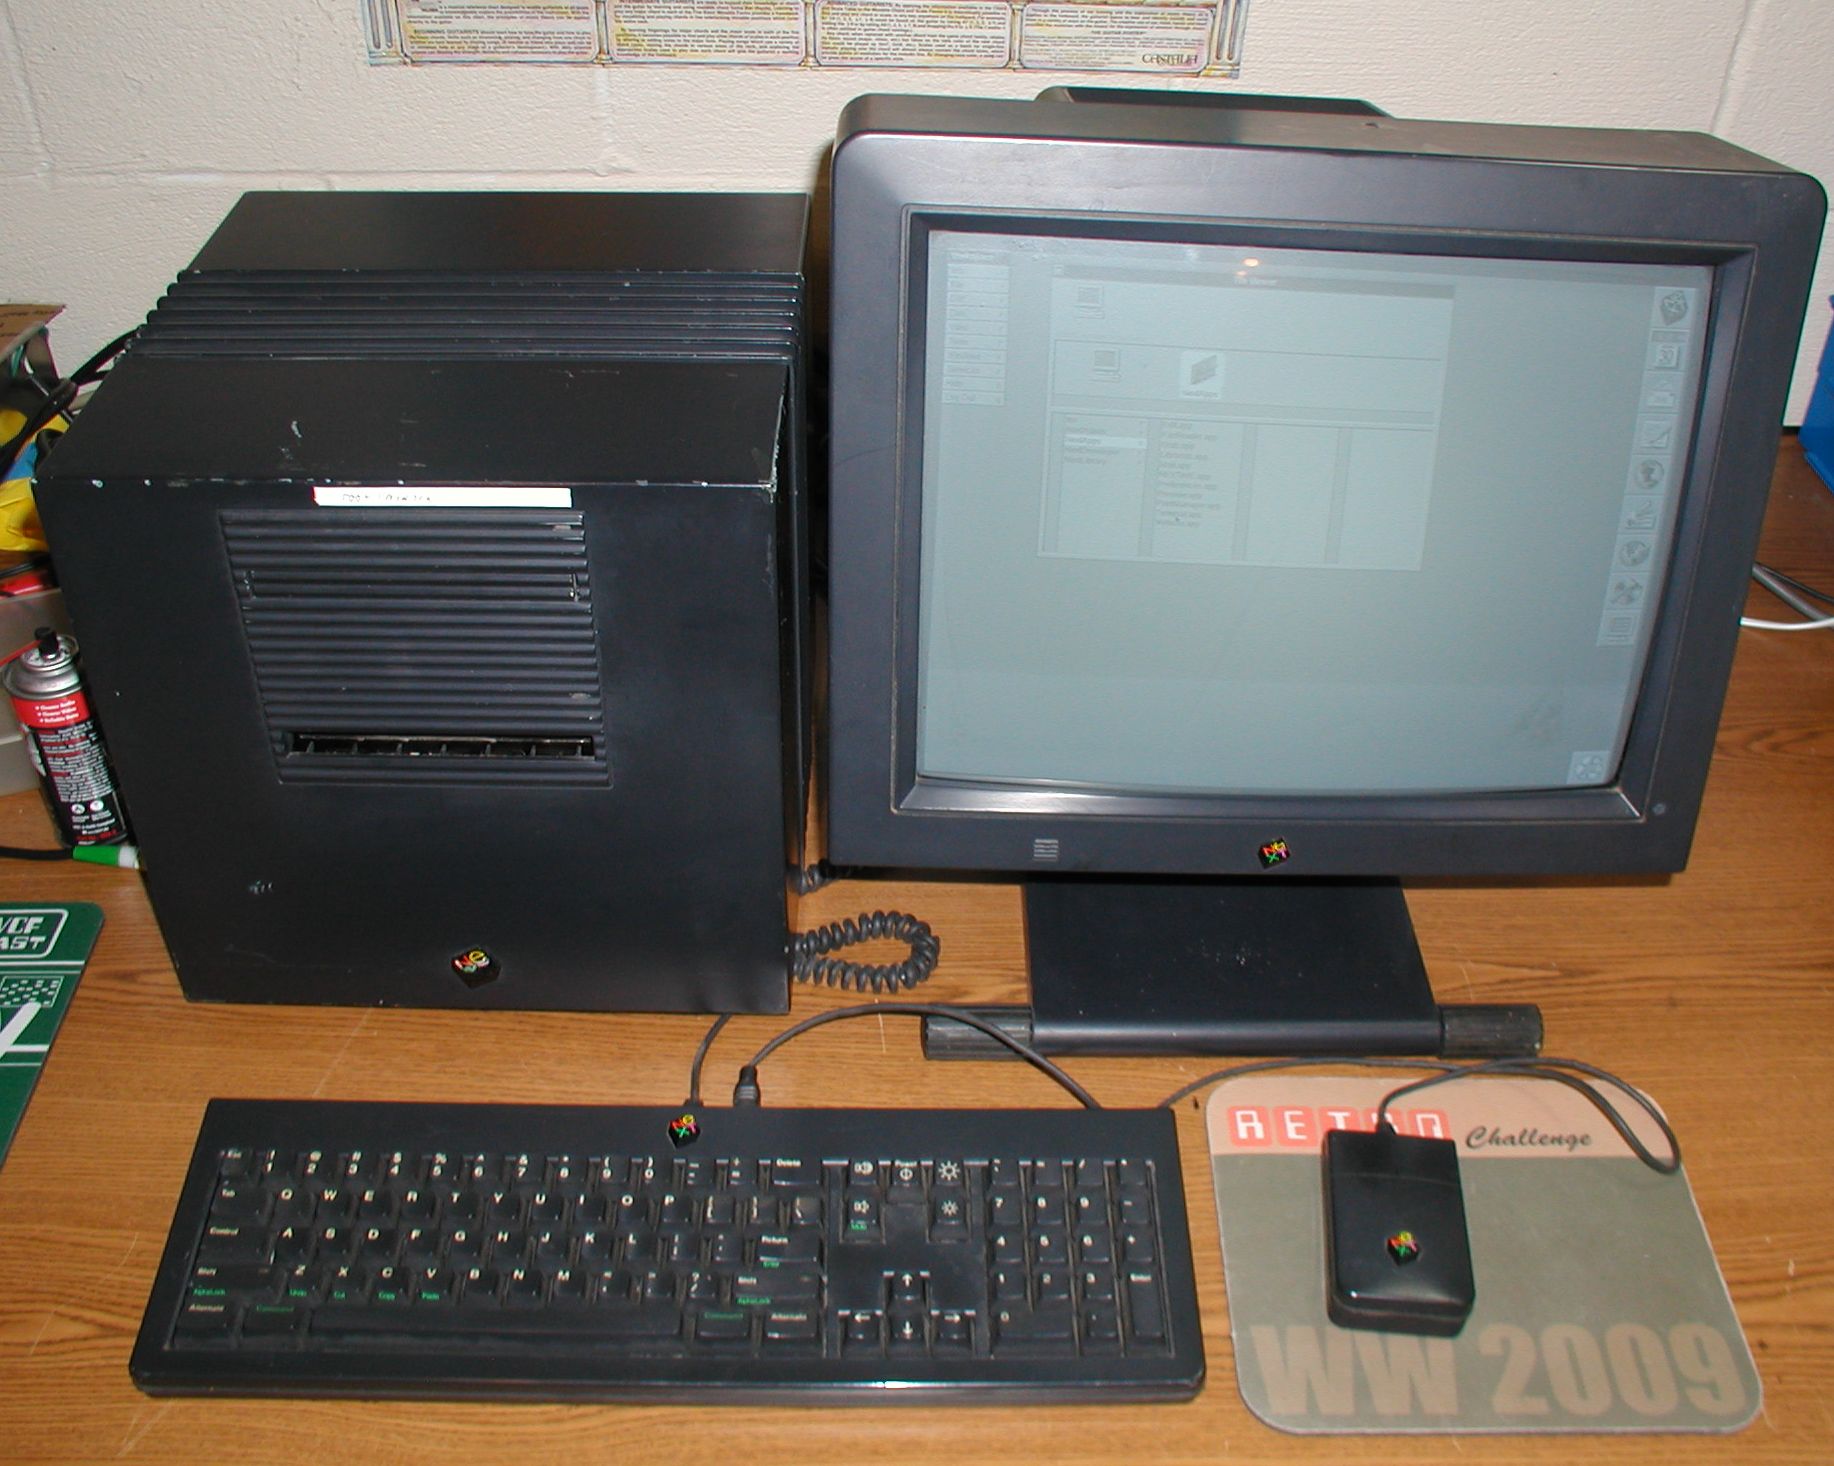 The NeXT N1000 or "NeXT Cube" computer. Click image for larger view.
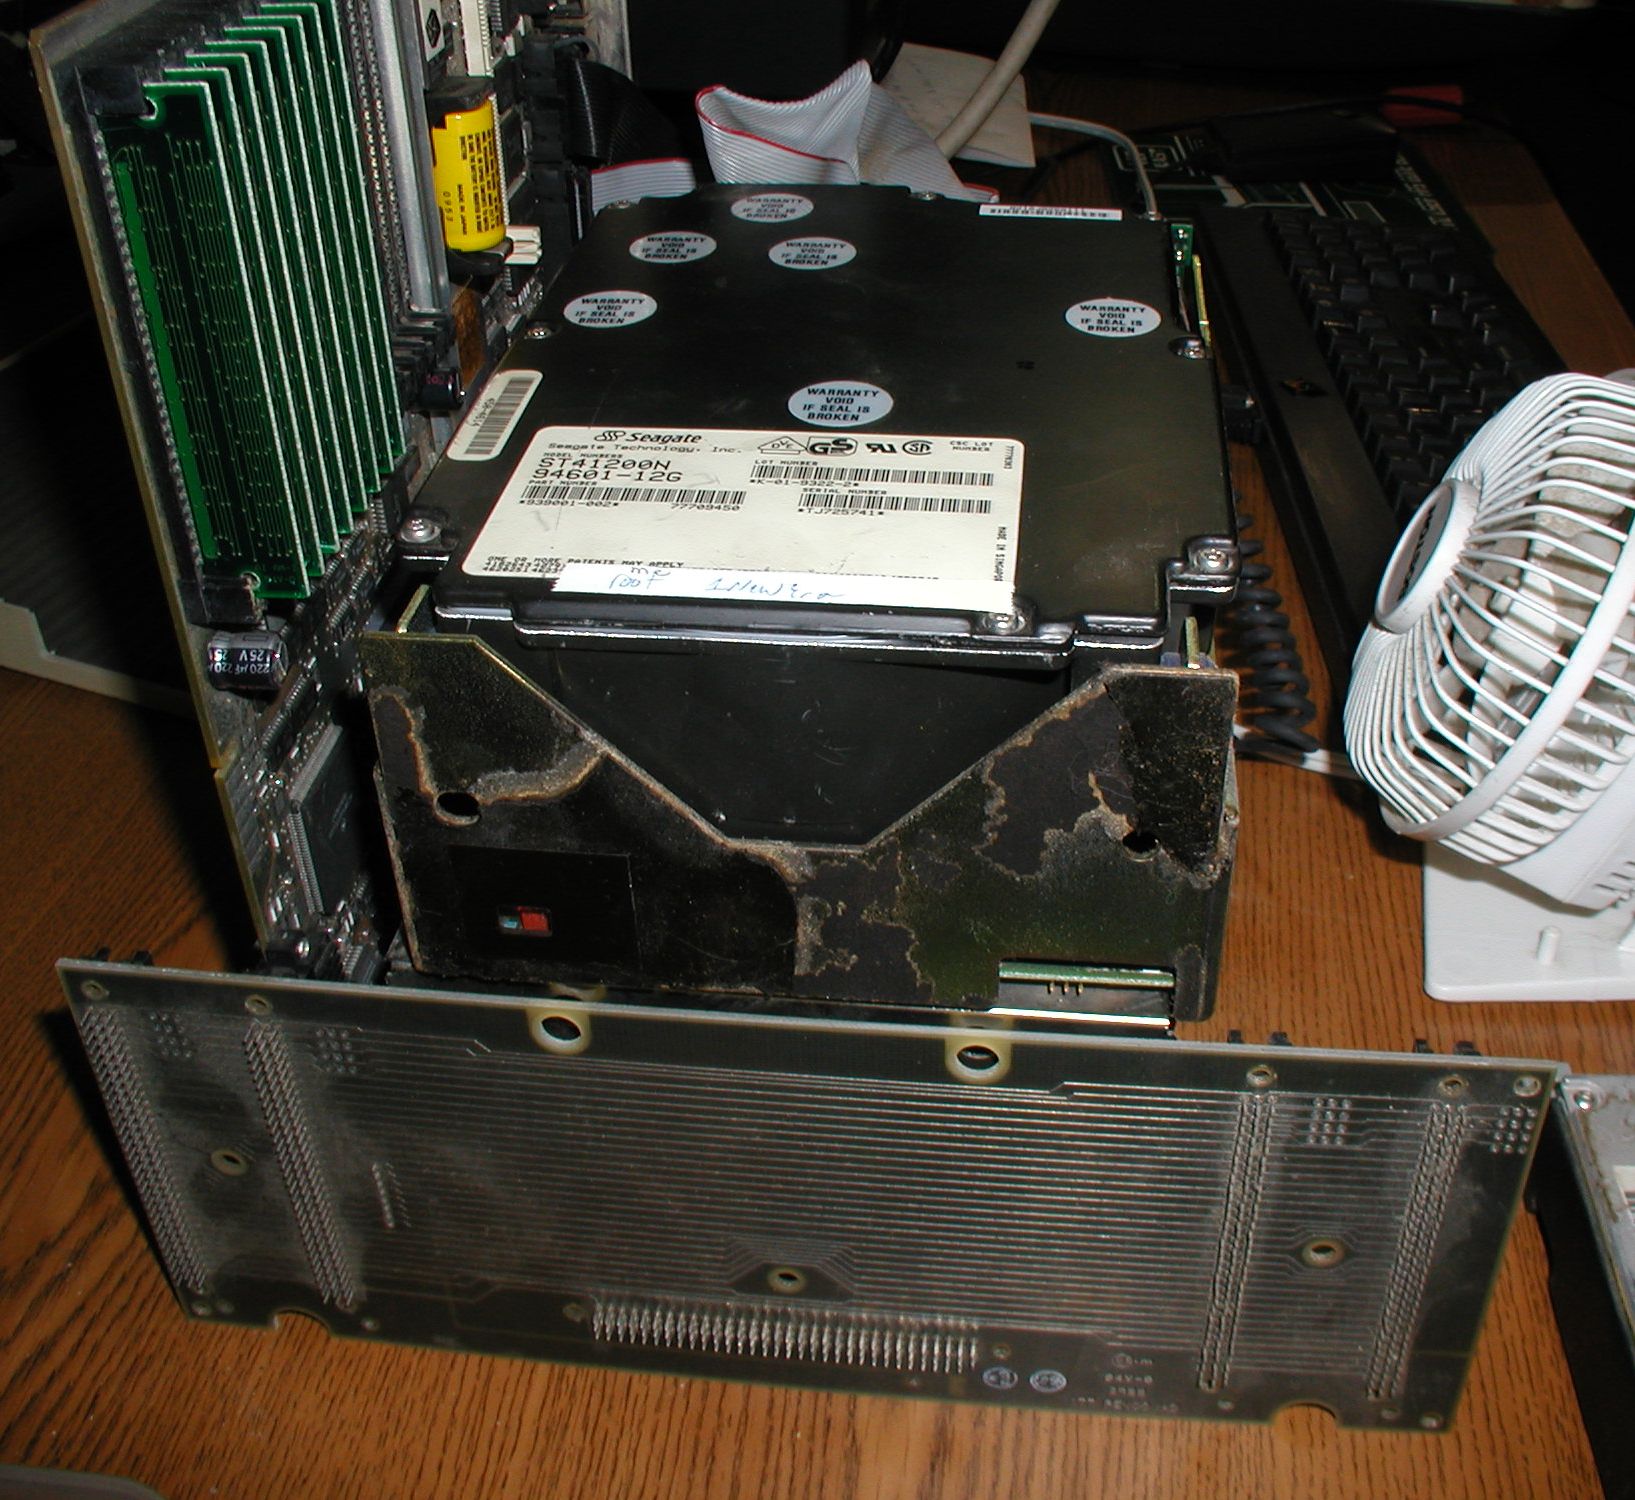 Here is a view of the NeXT Cube from the front with the chassis, optical drive and inner drive cover removed. The backplane is visible on the bottom with the motherboard (on it's side) and power supply (not visible) plugged into it. The system's internal full-height 5 1/4" hard drive sits unsecured upon the power supply, plugged into the motherboard from the back. The hard drive is an SCSI Seagate ST41200N. Click image for larger view.
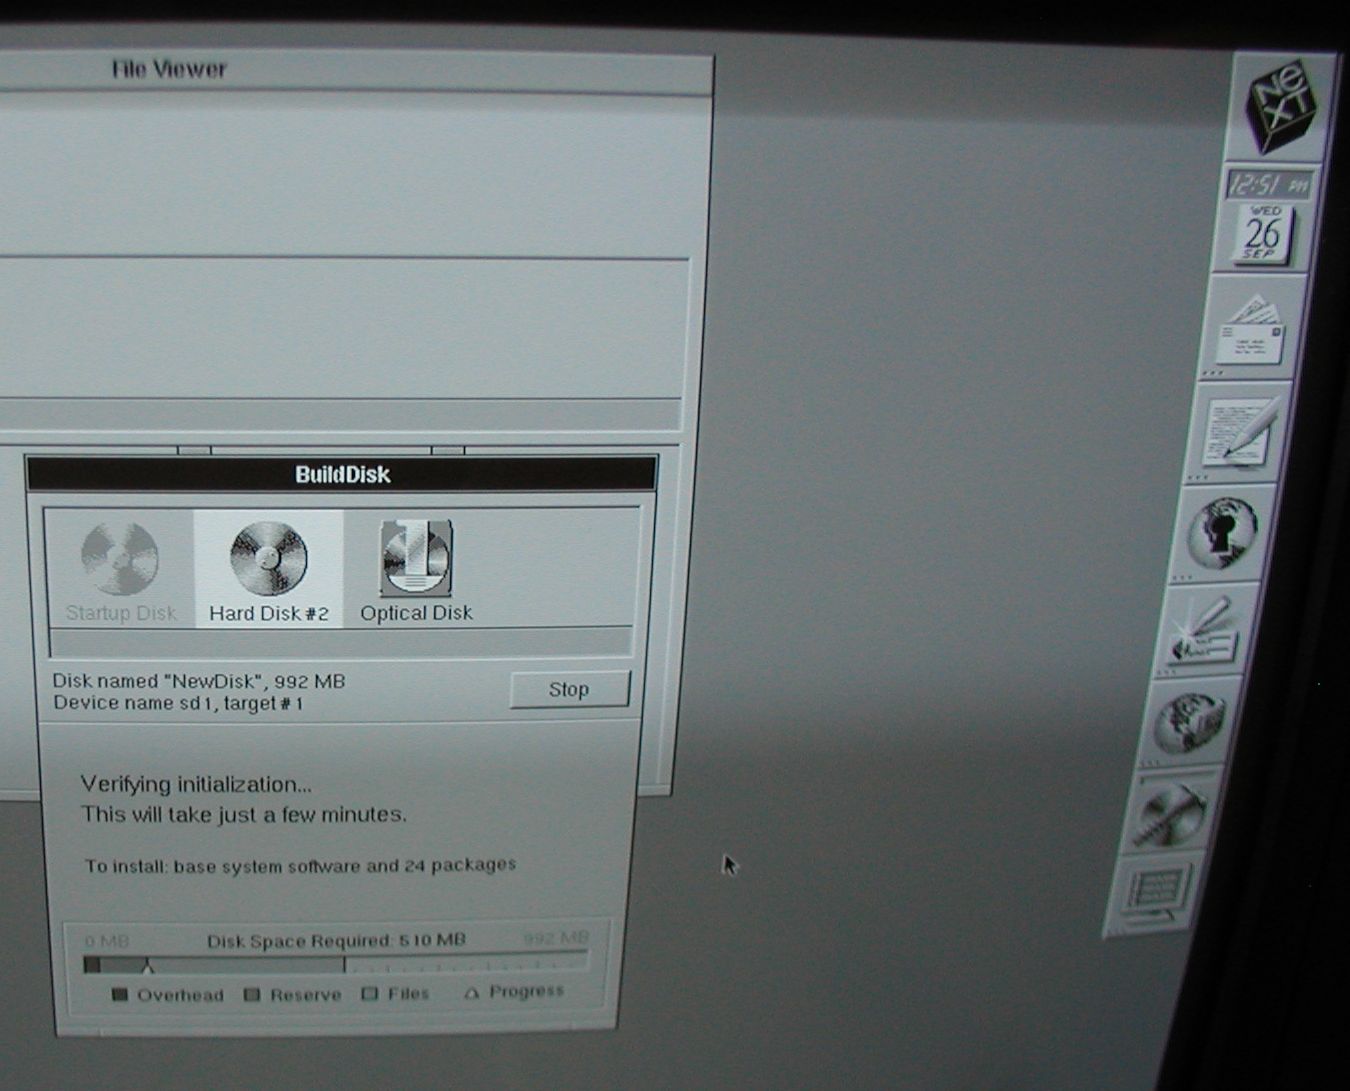 Other than cleaning, very little work was needed to get this machine up and running. The image above shows the NextStep OS BuildDisk utility running off an external drive (as drive 0). I temporarily set the internal drive's jumpers (for more info about jumpers see link below) for SCSI 2 so the system would ignore it After the build I removed the external drive and reset the internal drive to SCSI device 0. Click image for larger view.
This thread describes how to install a fresh copy of NextStep OS onto a bootable external hard drive using BuildDisk. 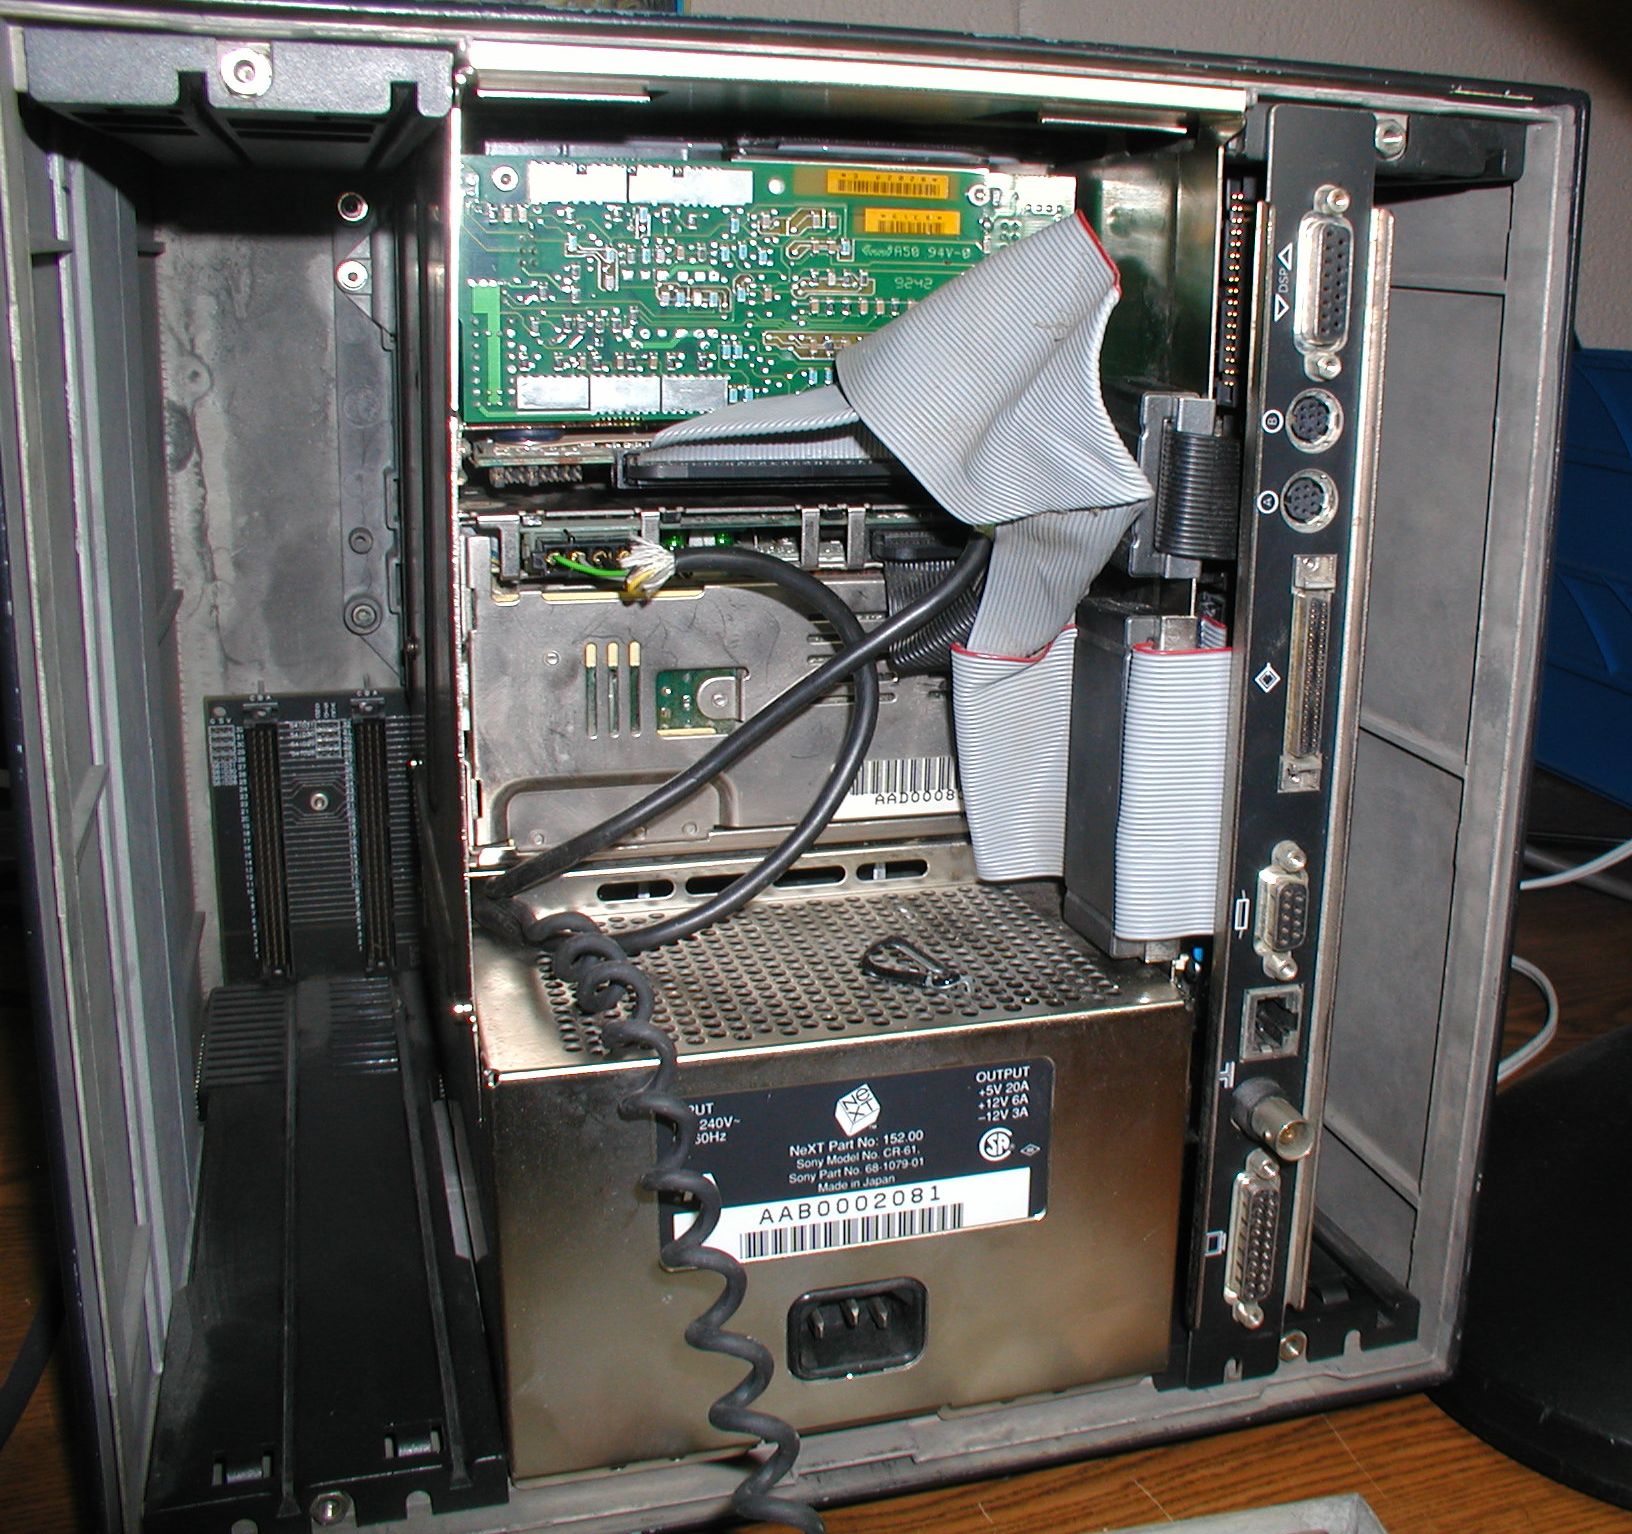 Almost finished, this photo displays the rear of the NeXT Cube just before installation of the back panel/fan. Note that there are four slots on the backplane, for expansion. The optical drive is attached in the middle, the hard drive sits on top. I did not do anything with the optical drive, I can come back to that later. The cables connect from the drives directly into the motherboard. Click image for larger view.
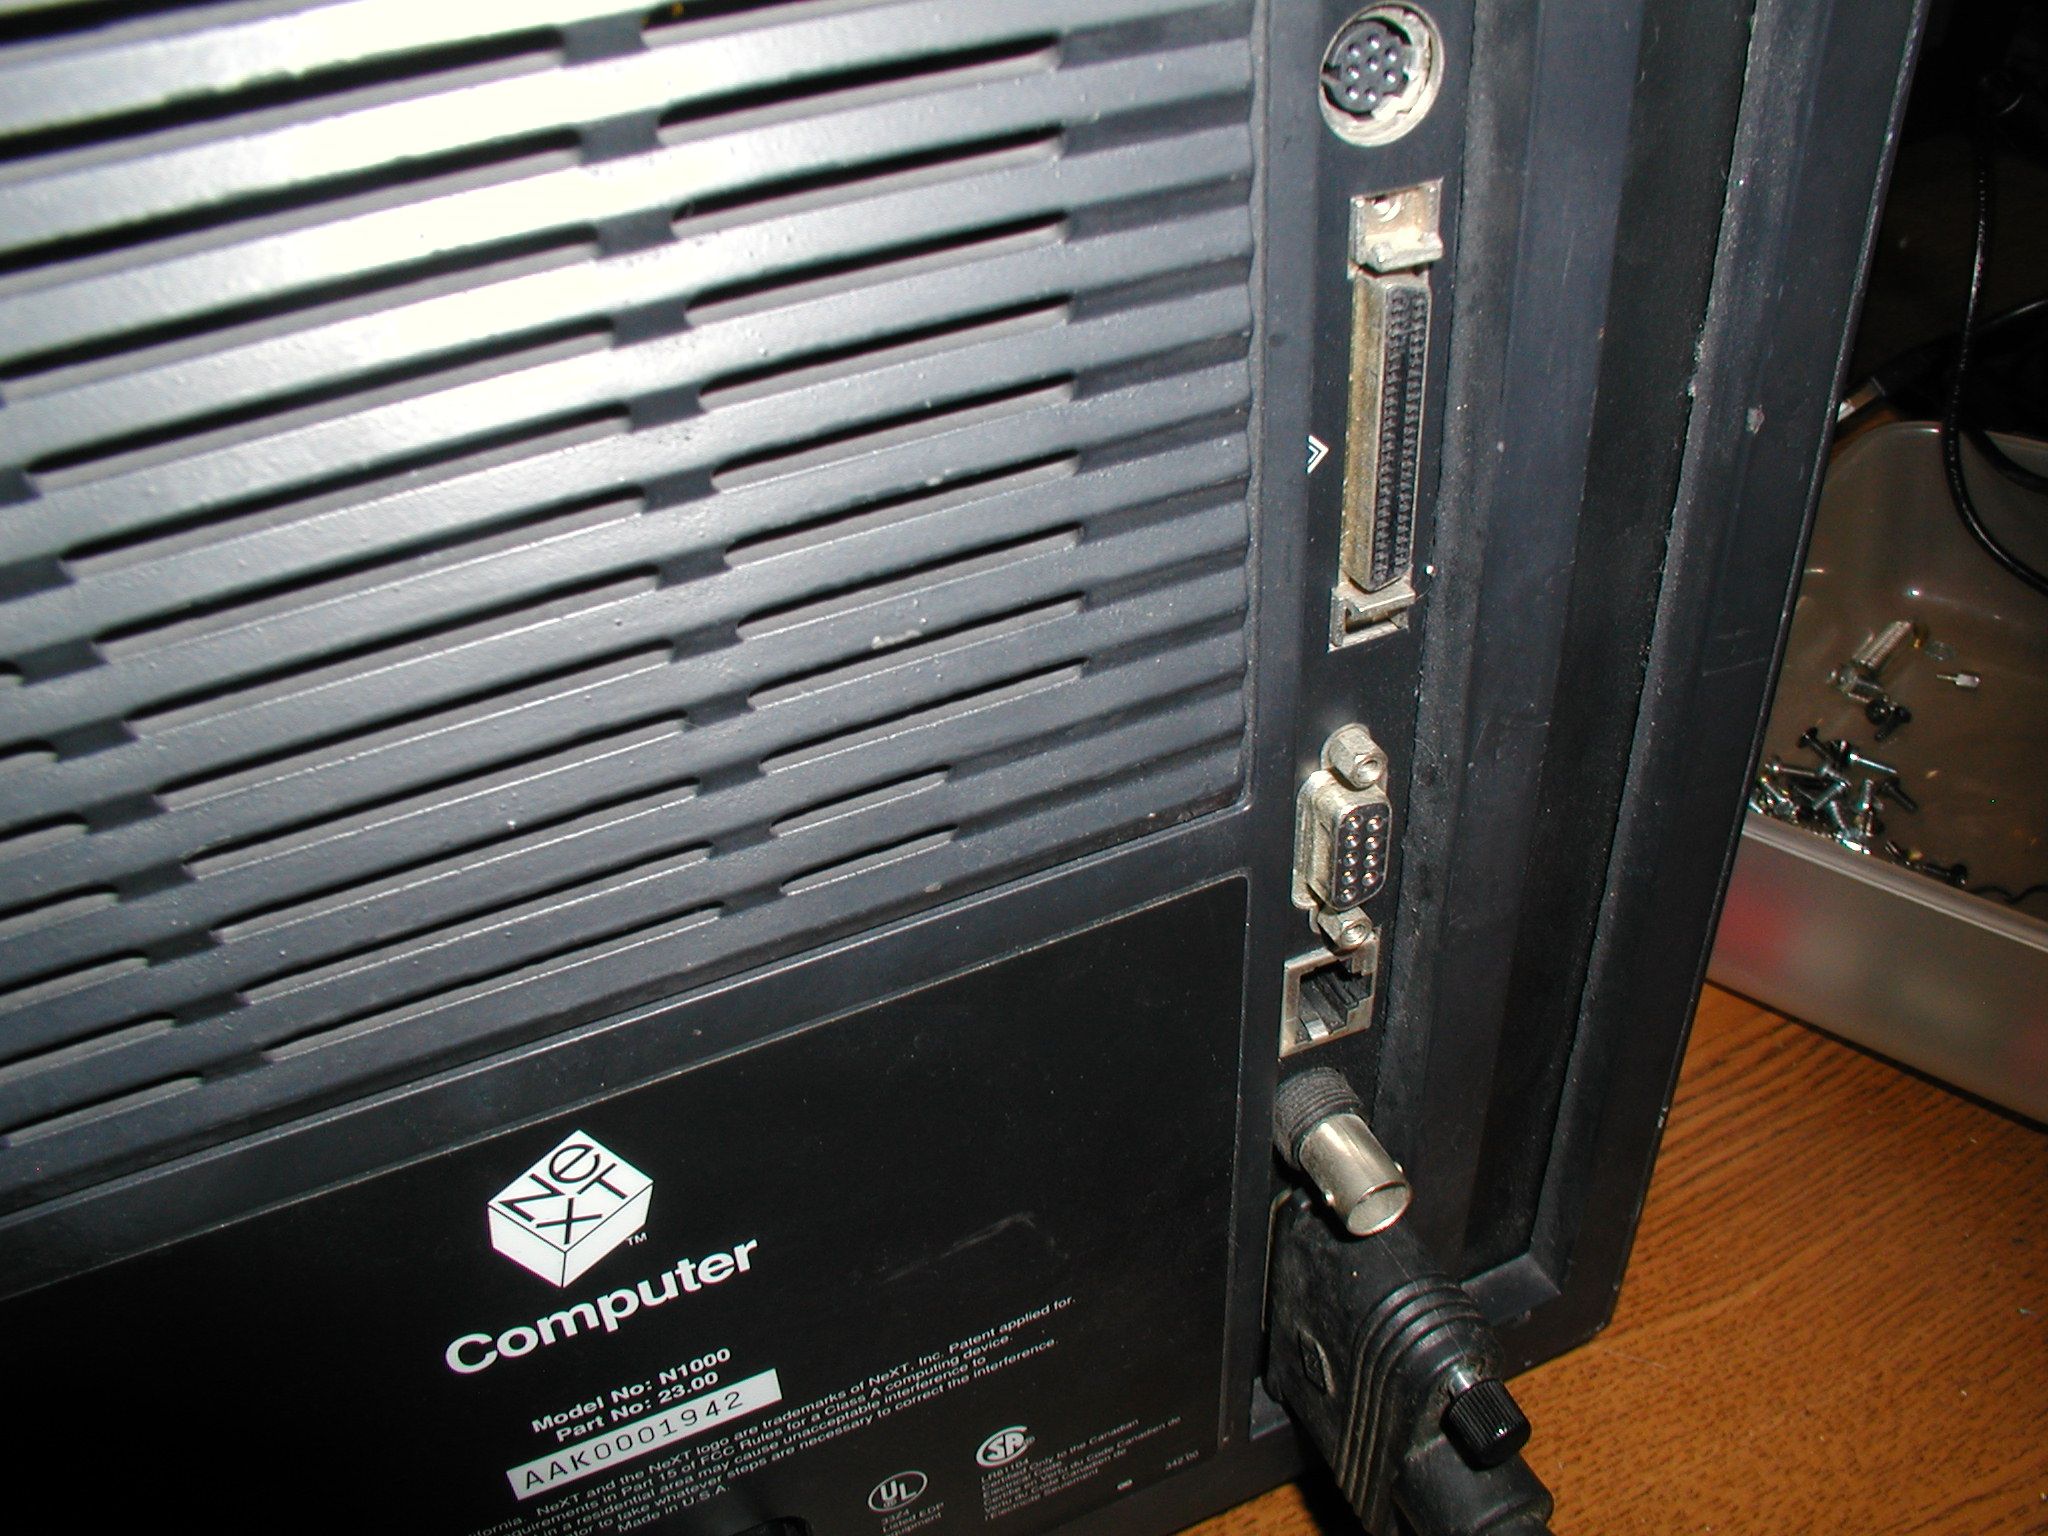 Closeup view of the NeXT Cube from the rear. The bottom port is used by the display. Note that there is a "regular" ethernet portal, and an external SCSI port. Click image for larger view.
Information about the Seagate ST41200N SCSI Hard drive: http://stason.org/TULARC...5-25-FH-SCSI1-NOVE.html More photos Reply |
|
Resources:

Popular Topics and FAQs
Past Issues:
Before we switched over to a blog format, past page archives here:
Vintage Computer Festival East 3.0 June 2006
Commodore B Series Prototypes July 2006
VOLSCAN - The first desktop computer with a GUI? Oct 2006
ROBOTS! - Will Robots Take Over? Nov 2006
Magnavox Mystery - a Computer, or? Jan 2007
The 1973 Williams Paddle Ball Arcade Computer Game Feb 2007
The Sperry UNIVAC 1219 Military Computer May 2007
VCF East 2007 - PET 30th Anniversary June/July 2007
The Electronic Brain August 2007
Community Memory and The People's Computer Company October 2007
Charles Babbage's Calculating Machine December 2007
Vintage Computing - A 1983 Perspective February 2008
Laptops and Portables May 2008
From Giant Brains to Hobby Computers - 1957 to 1977 August 2008
Historic Computer Magazines November 2008
World's Smallest Electronic Brain - Simon (1950) December 2008 - Feb 2009
Free Program Listings Spring 2009
Computer Music Summer 2009
Popular Electronics Jan/Feb 1975 - Altair 8800 Fall 2009
Early Microcomputer Mass Storage Summer 2010
NorthStar model
This image was selected at random from the archive. Click image for more photos and files from this set.