More info in this announcement from Practical Computing magazine October 1982.
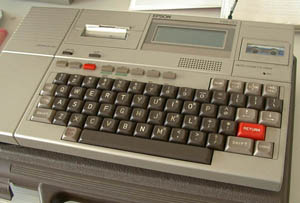
Targeted as a field terminal it found other uses like wordprocessing. The successor was the PX-8 which combined advantages from the QX-10 (CP/M, wide screen) with the HX-20 portability.
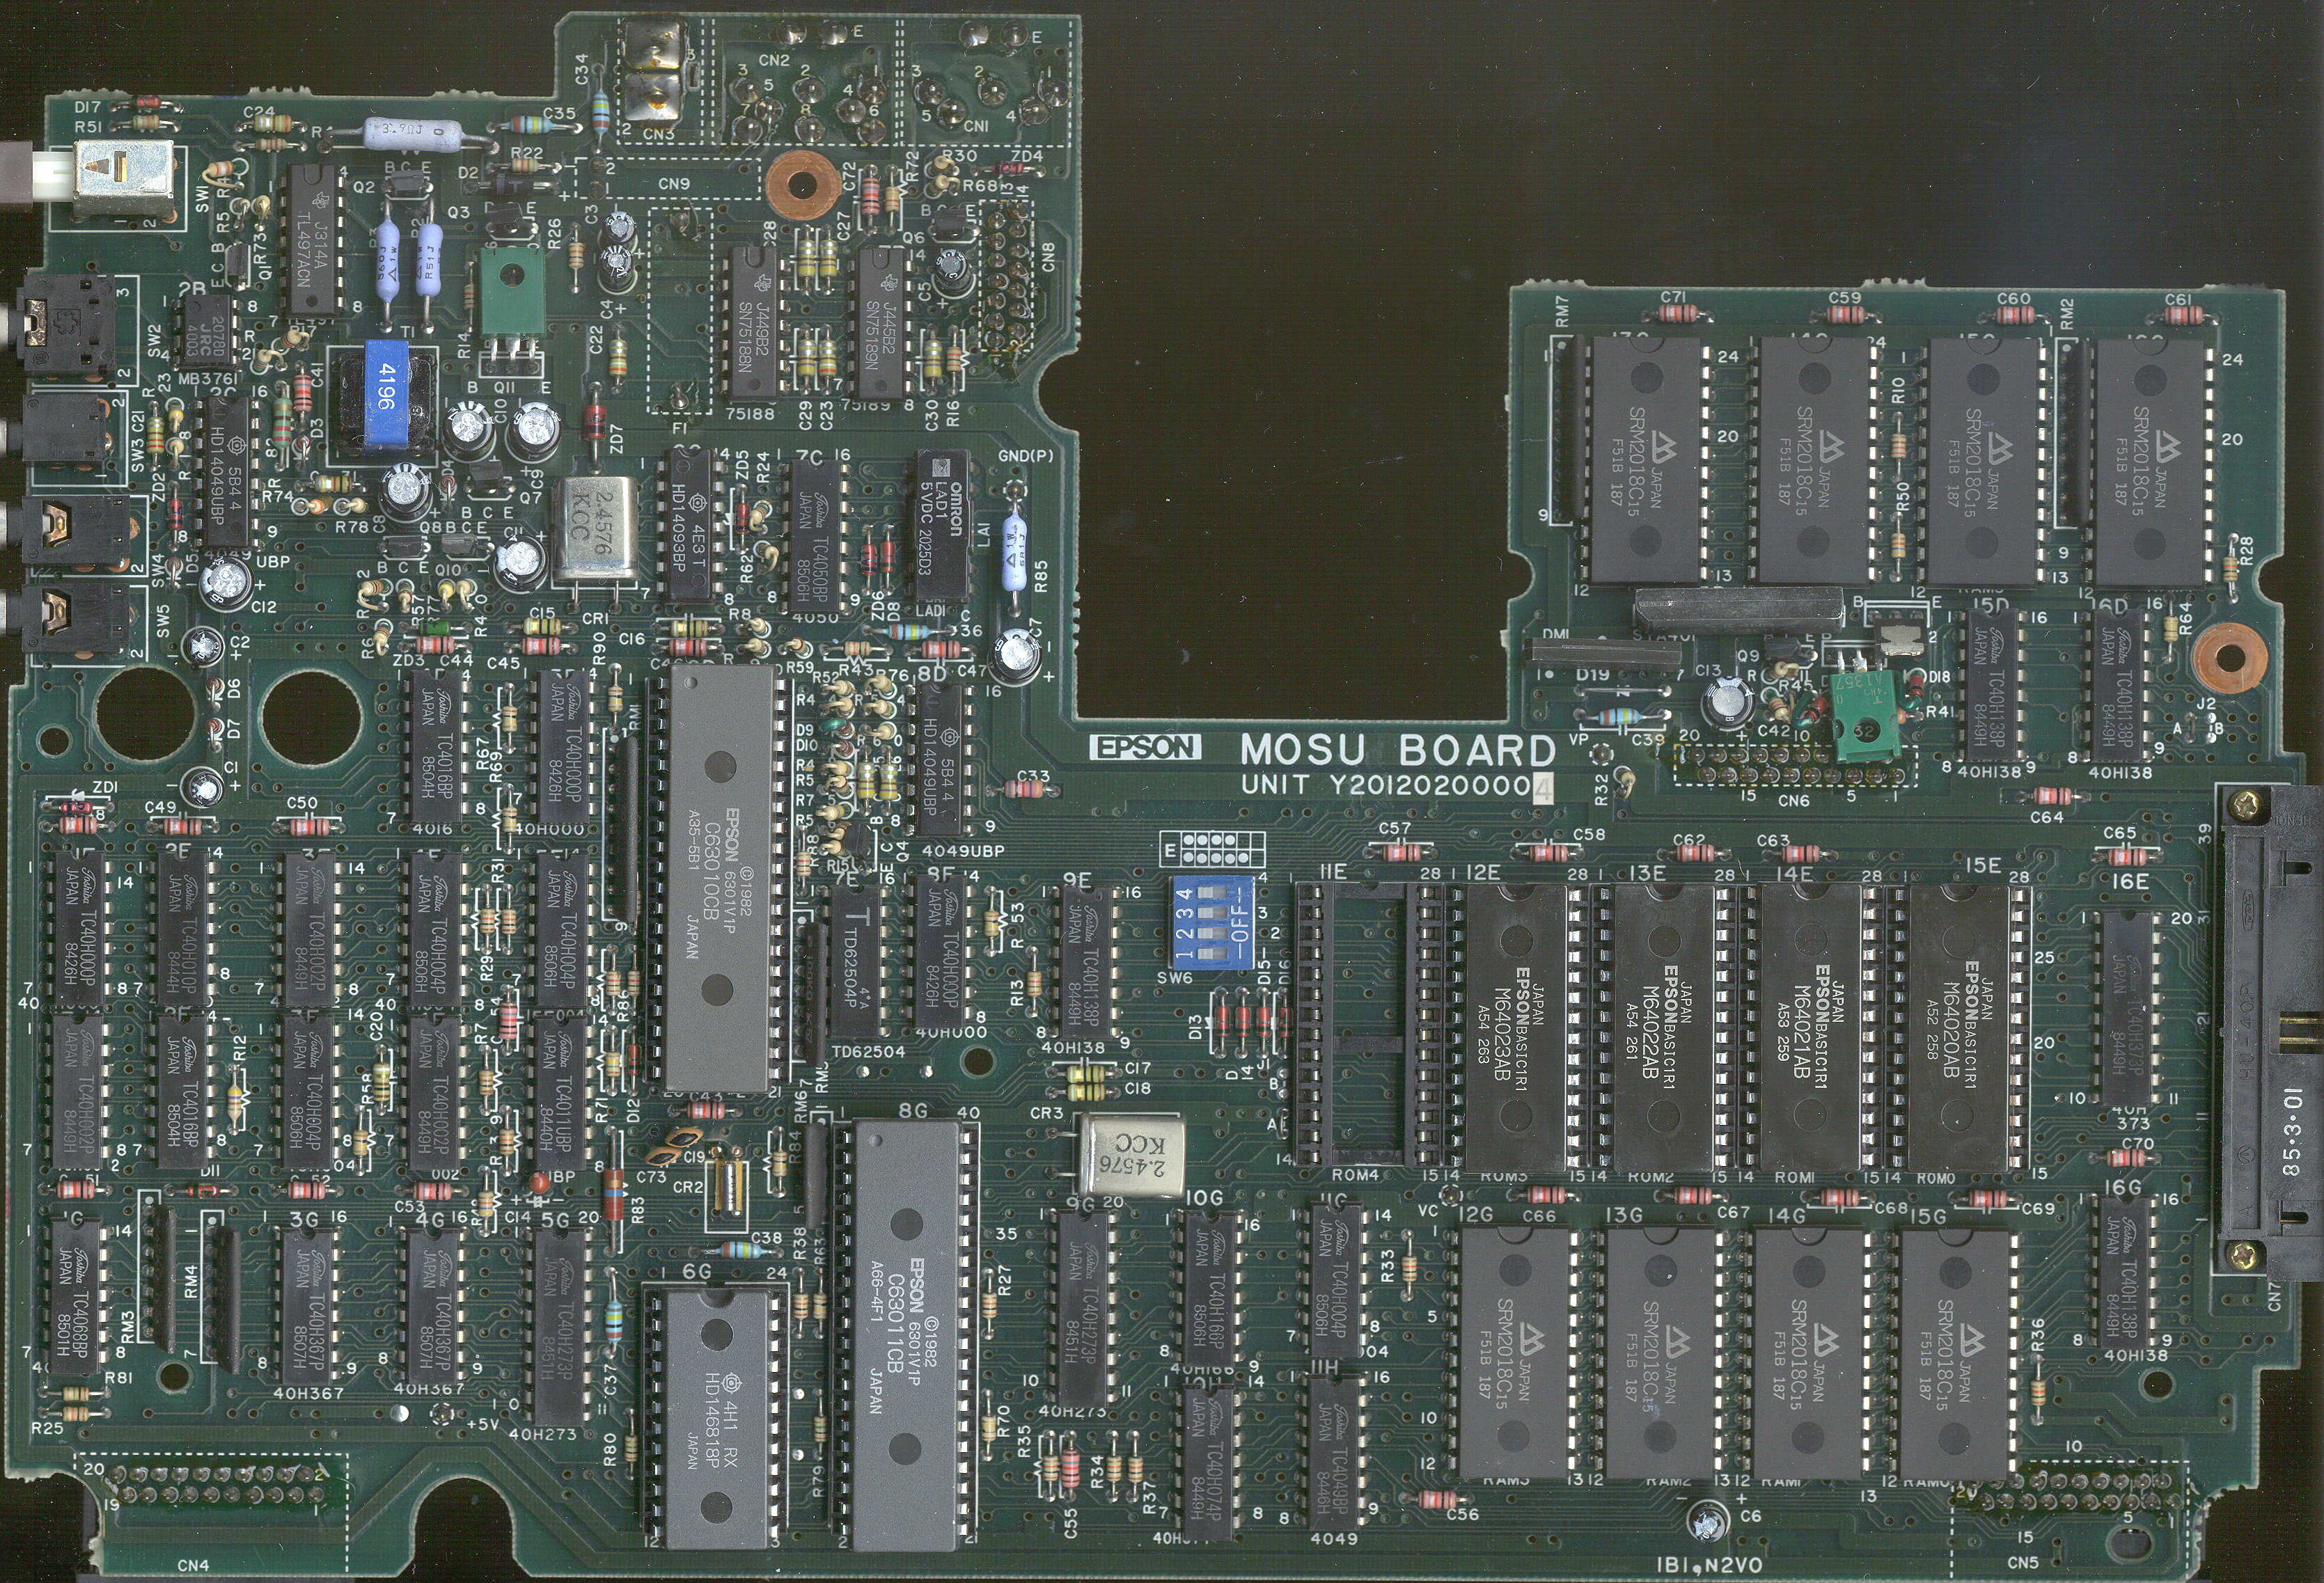
The BASIC 'PRINT FRE(0)' command should return 12891 bytes free for a non-expanded HX-20.
The standard ROMs map from 8000h to FFFFh, the empty socket is for the option ROM (6000h-7FFFh)
Troubleshooting
If an HX-20 doesn't want to work, try this:
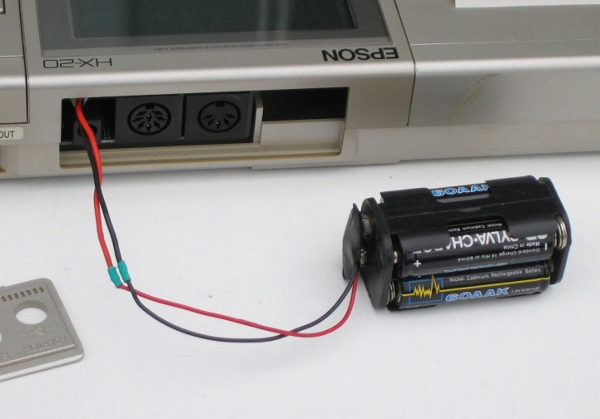
- Charge the HX-20 for several hours. To charge from empty to full batteries takes 8 hours.
- Make sure the batteries are actually charged. If after charging several hours the voltage over the battery is still 4 volts or below, your battery is shorted. An easy indication of this is the temperature of the adapter. If it is still hot after 8 hours charging, the battery is dead. Replace it before continuing.
- An initialised HX-20 displays this on startup:
CTRL/@ Initialize
1 MONITOR
2 BASIC
If this doesn't happen, or more lines are printed, press CTRL and @. Then you should enter the date and time. The HX-20 should now work.
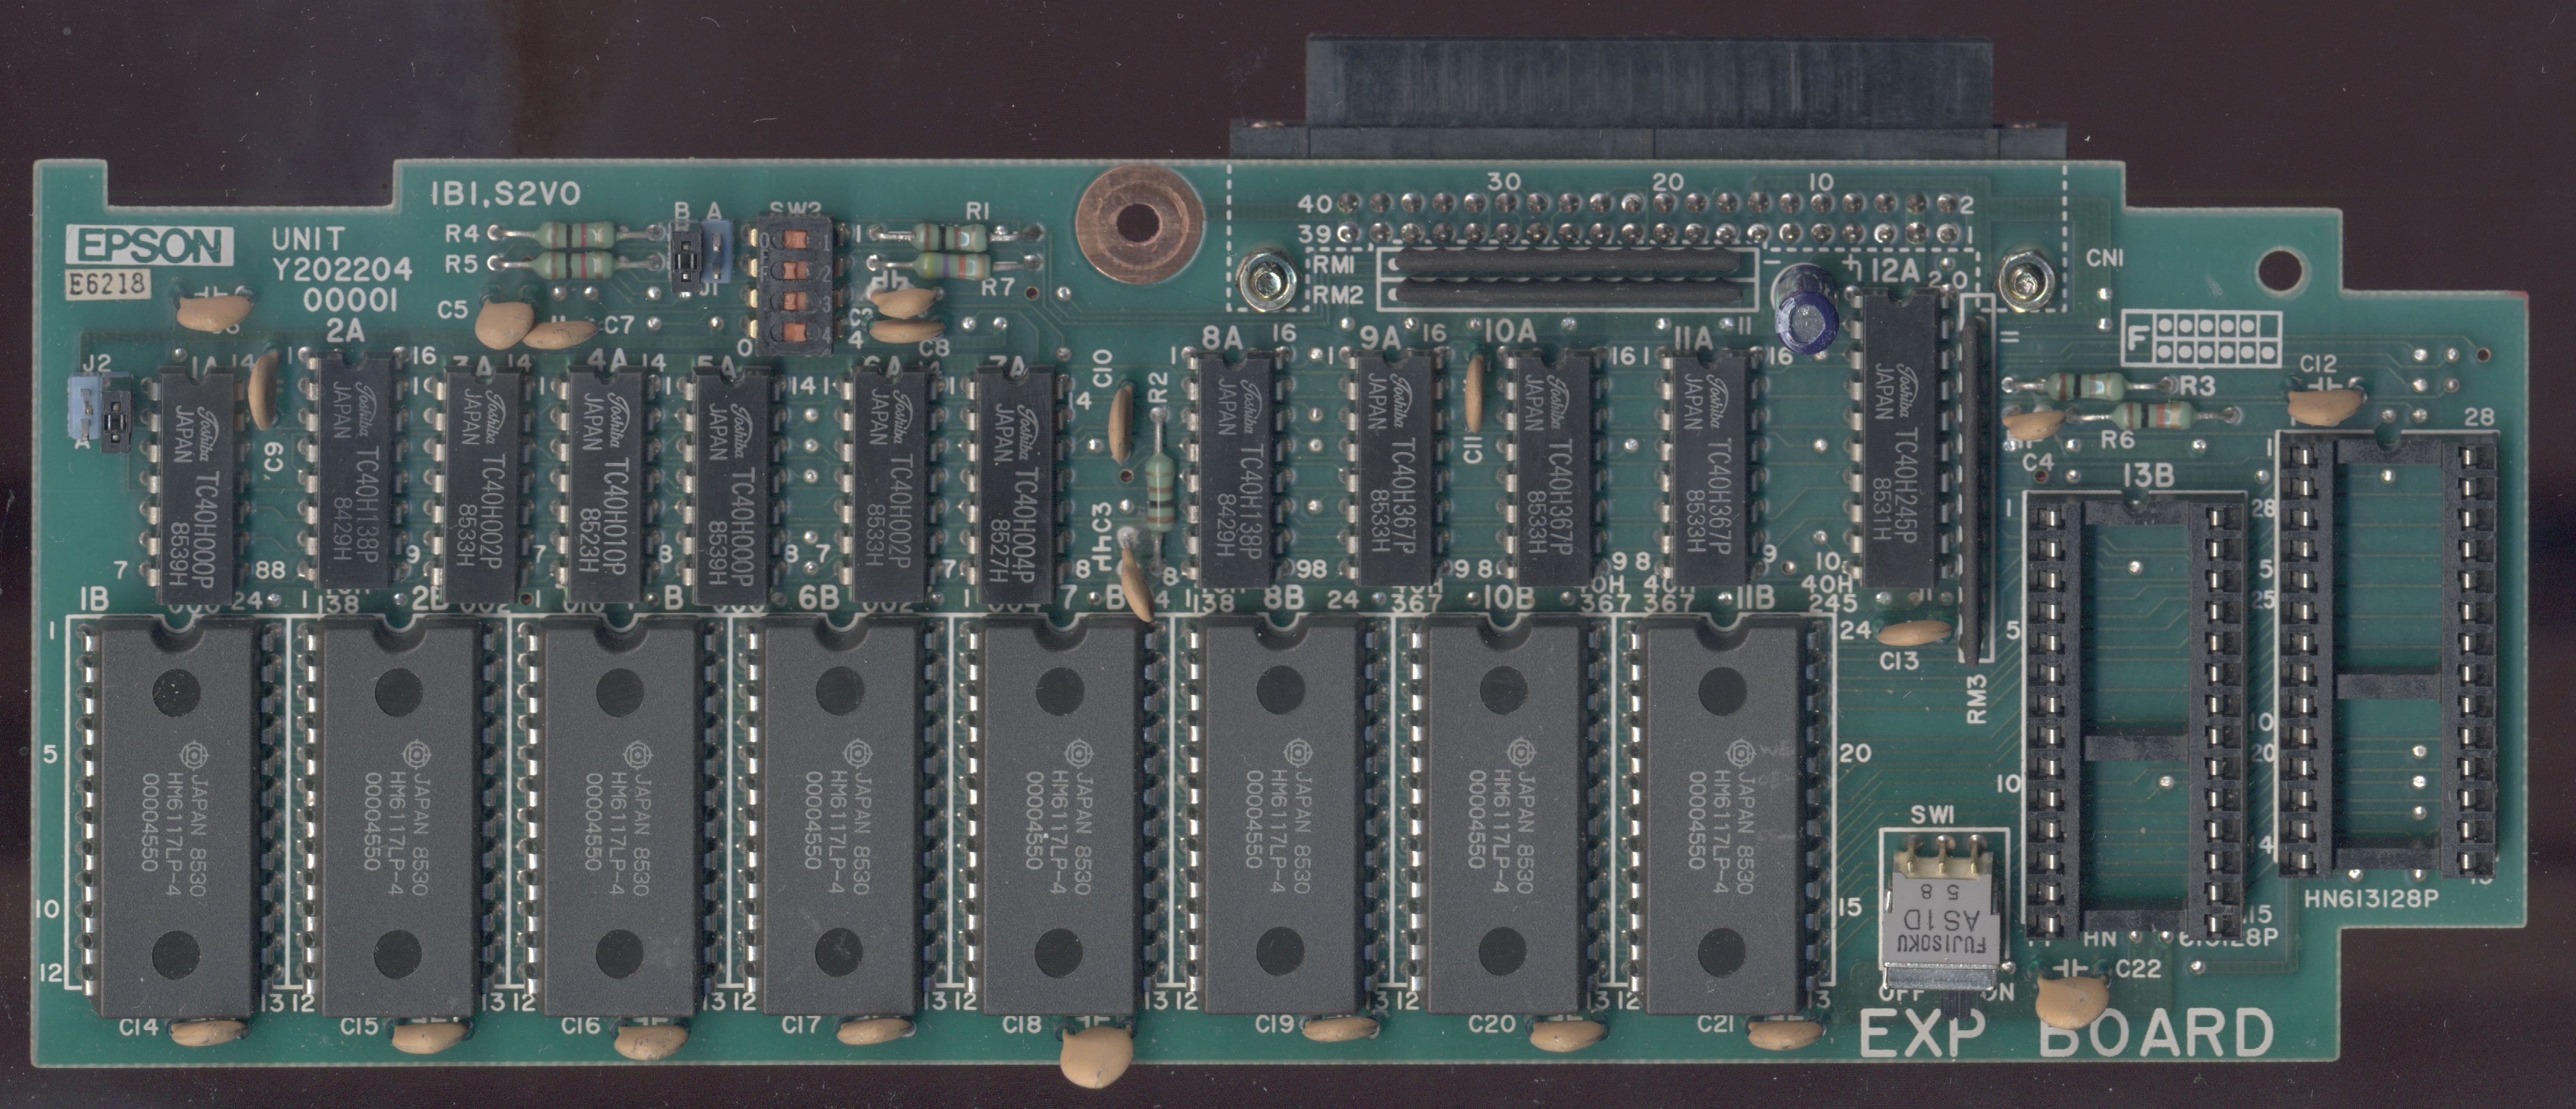
More information is in the HX-20 Technical Support Manual, see Virtual Library or Using the Epson HX-20 expansion unit
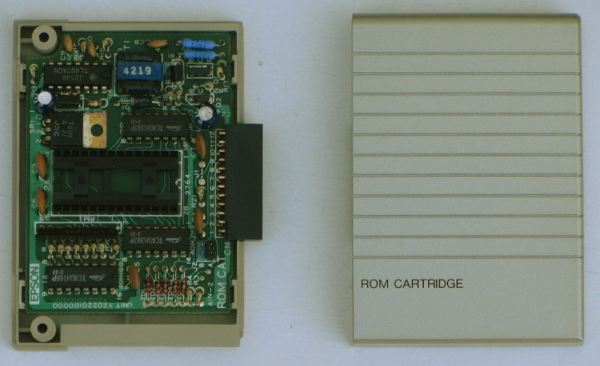
This ROM is not directly mapped into memory, data is loaded into memory first.
From the HX-20 Software Reference Manual Chapter 10.4):
The DISK BASIC is broadly divided into the following 3 modules:
(1) BASIC interpreter (ROM version: HX-20 side)
(2) DBASIC interpreter (DBASIC.SYS: HX-20 side)
This interpreter is an extended portion of BASIC which is loaded
from a disk to the RAM of the HX-20 upon start of the BASIC and
handles the data input/output to and from the disk and the
processing of the commands and statements, together with the BASIC
interpreter described in (1) above. This module consists mainly
of a portion connected to the BASIC interpreter (i.e., a BASIC
driver) and a portion interfacing with the TFDOS (i.e., EPSP
driver).
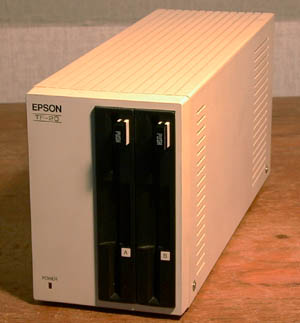
(3) TFDOS (TF-side)
The TFDOS which is resident on the RAM of the TF-20 received
commands from the HX-20, opens and reads or writes files using the
BDOS or the BIOS for the HX-20, and returns data and error codes
to the HX-20.
  HX-20        PC            PC
8-pin DIN  9-pin subDE  25-pin subDB  function
    1 -------- 5 ----------- 7           GND

    2 -------- 2 ----------- 3           HX-20 TxD, PC RxD

    3 -------- 3 ----------- 2           HX-20 RxD, PC TxD

               7 -+        4 -+
                  |           |          RTS - CTS loop
               8 -+        5 -+

               6 -+        6 -+
                  |           |
               1 -+        8 -+          DSR, CD, DTR loop
                  |           |
               4 -+       20 -+
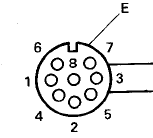
To connect the HX-20 to a PC, I use an Epson #705 cable, a gender changer, a null modem adapter and a 25p to 9p adapter. In essence it boils down to this diagram. Note that the DIN pin numbering is not regular.
Text (BASIC) transfer from PC to HX-20:
- set serial port speed to 1200 Baud: Linux: sudo /bin/stty -F /dev/ttyUSB0 ospeed 1200 ispeed 1200
- enter into HX-20: LOAD "COM0:(48N1F)" <ENTER>
- send file: Linux: sudo cat fileName > /dev/ttyUSB0 and wait for it to finish
- press <BREAK> on HX-20. The program is now loaded.
Text (BASIC) transfer from HX-20 to PC:
- start terminal program and set serial port to 4800 Baud
- start text capture mode
- enter into HX-20: LIST "COM0:(68N1F)" <ENTER> and wait for it to finish
- save captured text